Spar and Boom Tubes
The wing's strength comes from the spar tube running through the length of the wing. The spar is impressively over-engineered (a 6 inch diameter .058 thickness, aluminum alloy 6061 heat treated for strength to T-6). It is two or maybe three times stronger than needed. This ensures structural integrity when the inevitably unexpected wind or turbulence occurs and provides a comfortable margin of strength to finish the flight with the airplane in one piece.
The Value of Structural Strength
When I flew propjets in the south, a couple of times during turbulent days, air traffic control asked us to deviate to a spot where a small plane has disappeared from radar. Each time we orbited over a field strewn with pieces of white metal that had been torn up like so much paper. Each time it was the same airplane, a very popular model due to it's graceful lines. However, it is unpopular with the mechanics that understood the weak airframe was due to aesthetic considerations over good engineering. I sat in an airframe that had perhaps 20 times the hours of the wreckage below, knowing it could possibly fly the rest of my life without structural failure.
The aircraft I was flying was two or three times the strength needed, because sometimes the unexpected occurs that demands every bit of strength available. That is how virtually all production, certified airplanes are built. Some kit planes are not. There are few objective structural evaluations of kit airplanes. Due diligence is required of prospective kit buyers looking for strong, safe aircraft.
Alodyning
All the aluminum parts on airliners are cleaned, alodyned, and painted with two-part epoxy before assembly. This was recently confirmed by the husband of one of my cousins who once worked as a machinist making parts for Boeing. He described the long and tedious process of cleaning, alodyning, painting, and inspecting every part he made.
Cleaning the Tubes
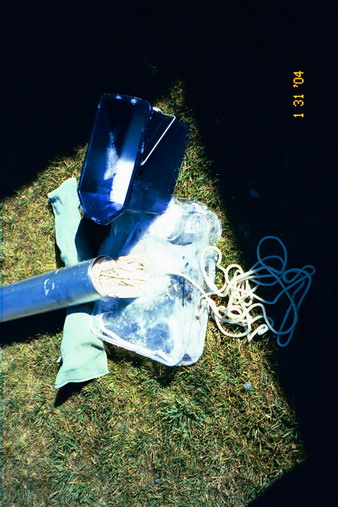
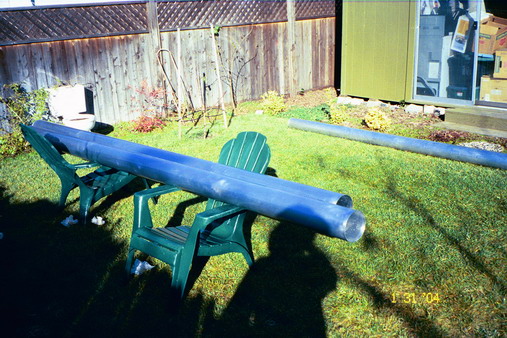
The inside of the spar tubes needed to be scrubbed clean, but they were 12 feet long. After some failed attempts, I located a large mop head without metal parts that might scratch. I tied a rope to it, and grabbed a bucket of hot soapy water. With an assistant, the mop head slid back and forth with the right friction to remove oil and dirt.
My buddy Dan helps with the
process.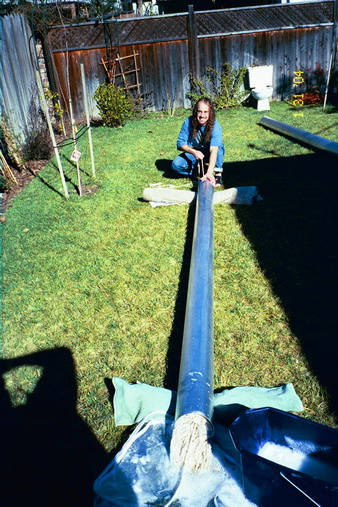
Ok, the inside is clean. Now to clean up the outside.
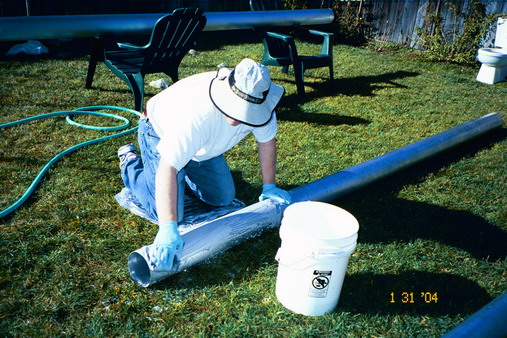
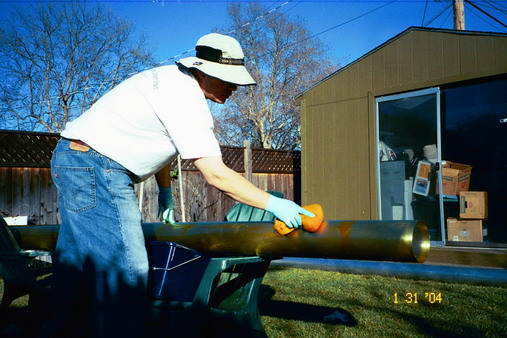
Rinse the tubes with water and place on chairs to prep for applying the alodyne to the tubes.
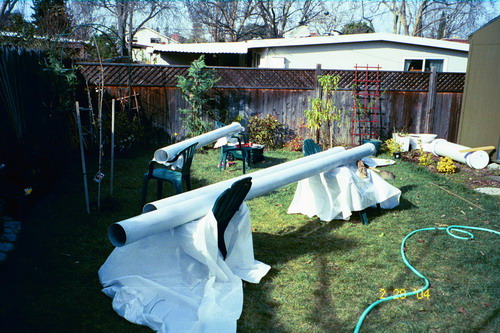
Sponging on the alodyne. The directions require at least 8 minutes of "flooded" application, so I sponged on a lot, and hoped the lawn wasn't going to be completly destroyed. Once the spar tubes were alodyned, I rinsed with water and started on the boom tube, the tube that connects the tail to the rest of the airplane. The alodyne was poured into the tubes, after covering one end with Saran wrap and rubber-banding it. The other end covered with the wrap and the tubes leveled. Then slowly rotate the tubes to ensure all of the inside is kept wet for 10 minutes. Rinse with water as before.
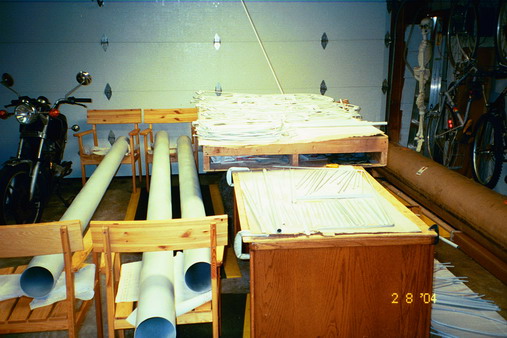
Painting and Curing the Tubes
Once the tubes were completly dried, they were sprayed with the epoxy primer.
The Saran wrap covered the ends and thinned paint sloshed around
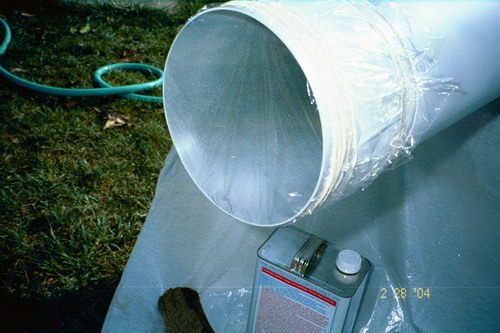
Once the paint had a couple of hours to harden, the completed parts were brought into a heated garage to complete the process of curing the epoxy, called cross-linking. Until the cross-linking is completed, the paint will continue to outgas, and can interfere with the fabric covering process.