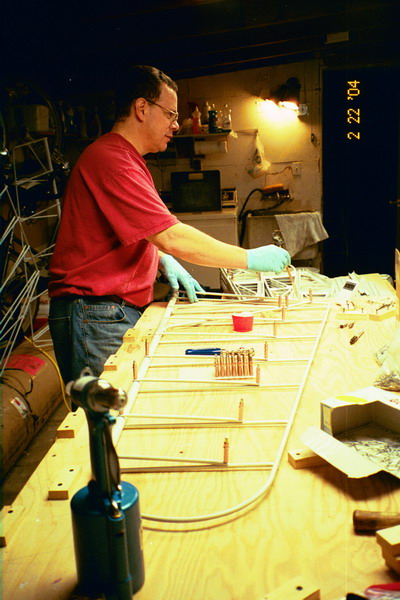
Rudder
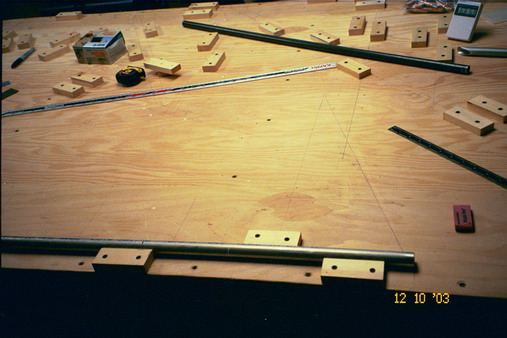
Drawing out the rudder in pencil, placing the blocks, and the cutting tubes.
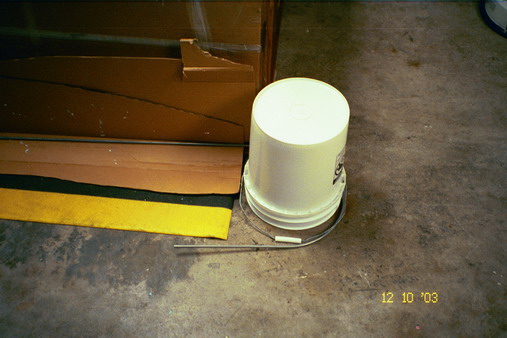
The plans call for a rounded top to the rudder, but leaves the exact shape up to the builder. I worried over making it look just right, then noticed this bucket just sitting there, waiting to be the shape of the rudder. After staring at the bucket for 20 minutes trying to figure out how to fix it in place while I bent the tube around it, I leaned on it with my chest and just bent the tube around in one movement. I got lucky and it was the right shape the first time.
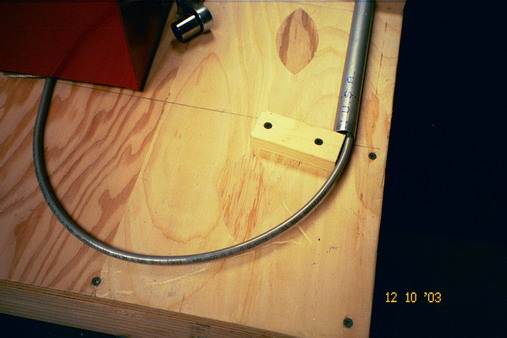
Used a toolbox the fix the radius in place while I drilled and clecoed it.
Finished painting and alodyning. Now riveting. Took several months to build all the tail pieces, clean, alodyne, and paint in large batches, assemble them, cleco, and finally rivet. I spent the better part of a day matching up the many freshly painted pieces with the correct control surfaces. There must be an easy way to label each piece in a way that survives painting, and doesn't scratch or deform. I'll figure that out before building the next plane ;-)
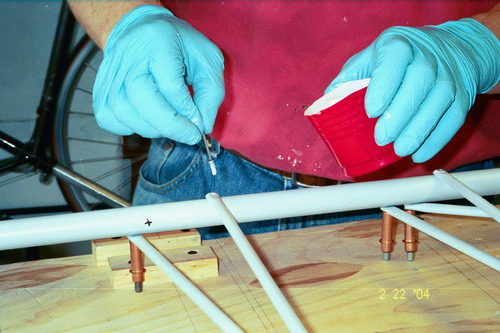
Dipping each rivet in the epoxy paint before setting.
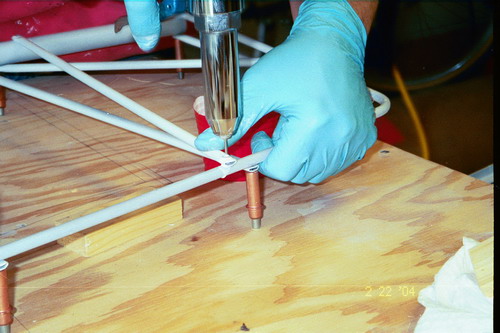
Setting the rivet with a pneumatic riveter
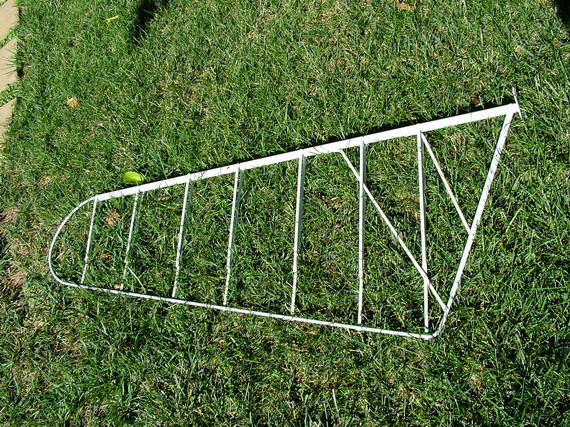
Finished product. The two braces are at slightly different angles (not parallel). This was intentional; by avoiding a parallelogram I expected some slight increase in resistance to deforming when someone bangs into it on the ground. I don't suspect it's so important in flight, I couldn't visualize any scenarios short of a mid-air where that area would get hit ;-)