Prep and Paint
Aluminum can corrode if salt water or polutants and moisture are trapped between two pieces, or are in contact with disimilar metals, such as steel brackets or stainless rivets and moisture. While these conditions are thought to be rare, I've seen a fleet of older Cessna and Piper aircraft that regularly require attention for corrosion. After spending six months of 1989 helping to restore a Cessna 310 full of corrision, I have resolved to build a plane that would be very corrosion resistant.
Looking carefully at the available processes, I settled on a three step prep coating process:
Scrubbing clean with Scotch-brite and Dawn dishwashing soap (Dawn is cheaper, and as effective as commercial cleaners on new aluminum).
Dip part in Poly-Fiber Aluma-Dyne E-2300, Conversion coating to improve corrosion resistance and paint adhesion.
Paint Part with Poly-Fiber Epoxy Primer EP-420, a two part epoxy primer to prevent corrosion and provide a stable surface for the fabric covering process.
Scrub each part with hot soapy water and a scotch-brite pad until the aluminum shines like polished silver.
.
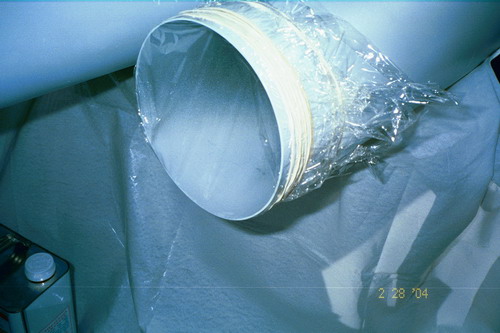
The final (weeks of cogitating) alodyne dip tank design was made from a 12 inch pvc water-main pipe, cut to 65 inches, with caps glued on the end. The only source I could find for such a large pipe was a wholesale supplier that stocked the pipe in 20 foot sections weighting several hundred pounds. I ended up with a pipe much thicker (and heavier) than I needed, but that was what was in stock. I had to buy an entire stick, have it cut to 65 inches, and leave the remainder. I cut the "top" off with a jigsaw, and strapped the pipe to a couple of short 2x4's to keep the tank from rolling around. The completed tank weights around 75 pounds, empty. Below you can see the opening is covered in Saran wrap (between uses). I was told the alodyne concentrate, once diluted with water for use, has a two week usefull life. The tank required five or six bottles, diluted, to give an acceptable level. In one filling, I dipped as many parts as possible to reduce the cost.
Soaked the clean parts in the Alodyne solution for 15 minutes. Dipping had the added benefit of coating the insides of the tubes that wouldn't have happened with a sponge or a paintbrush. The alodyne solution was only slightly thicker than water.
The parts were rinsed in water and placed in a warm area so they would dry promptly. The result is super shiny parts that never oxidize further, and will alway look just cleaned, insted of the dull, chalky grey finish on untreated aluminum. Paint will stick very well to this surface.

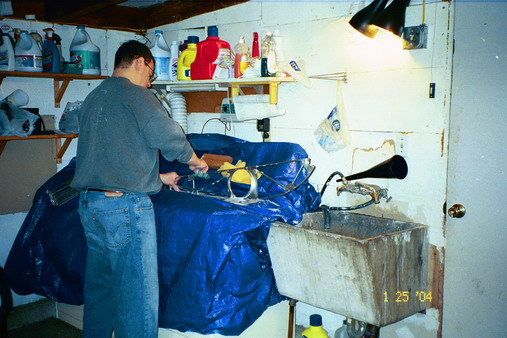
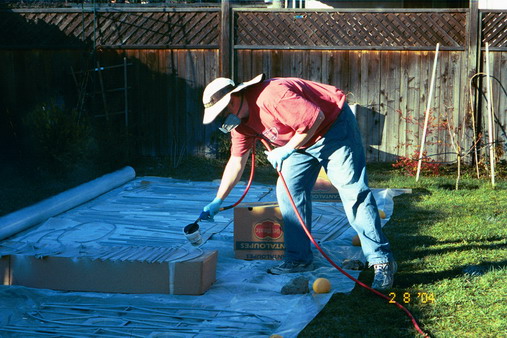
Once a batch of parts were ready, I covered much of the backyard with cardbord and tarps, closed up the house, and started spraying. Wait 30 minutes, flip over, spray again. Yes, that is in fact a toilet in the backyard, functioning as a junk-art flower-box.
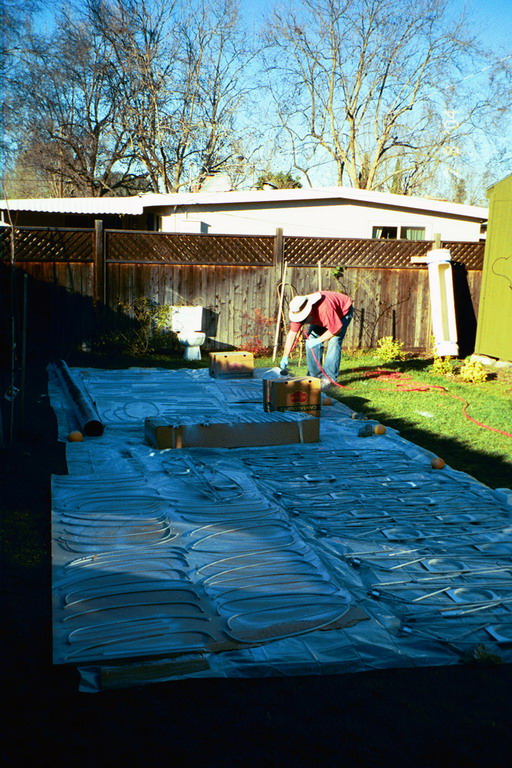
At this point, I was spraying with a $22 plastic gun that used paper cups for the reservoir. The results were fair for surfaces to be hidden by fabric, and the gun functioned on the tiny air compressor I have. This method wasted a lot of very expensive paint and stunk up the neighborhood with clouds of noxious fumes. Later, after some experimentation with cheaper solutions, I sprung for an Axis Turbine HVLP system and had much better results, in finish, and far less paint wasted. Note the respirator, it was purchased on-line from Enviro Safety products, and with the organic vapor cartridges only cost $30. The sexy hat is an REI special.
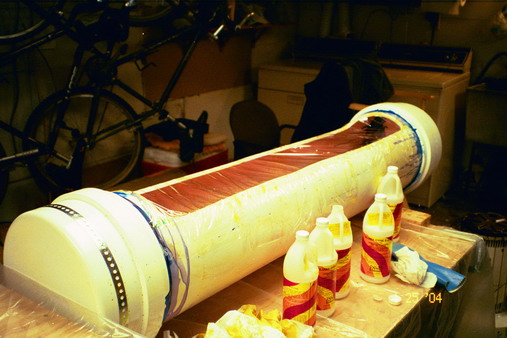
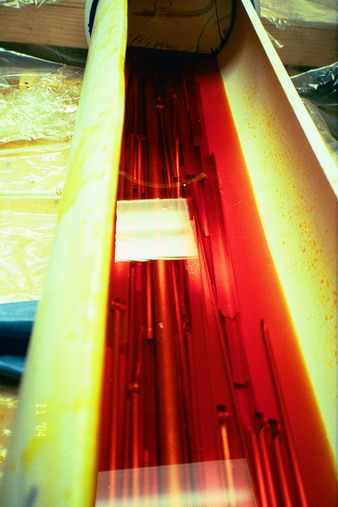
To get the paint inside the tubes my friend Charles had the clever suggestion to cover the ends with Saran wrap and rubber bands, pour the paint in and slosh it around. I did this with all the tubes larger than 3/16. The paint used for this had twice the reducer to stretch the expensive paint, since I wanted only a very thin coat of paint capable of sealing out the atmosphere.